
I'm living in West Virginia now, but since this is my weekend with a good, strong internet connection (I'm at my grandparent's house in Lynchburg, VA) I thought I'd catch up on some photoblogging that I had meant to do before departing for the rural reaches that will be my home for most of the summer.
In the last year I've gotten into a mild habit of killing, cleaning and then BBQ'ing farm animals. Since I got some good pictures of the process this year, I thought I'd make a little step by step. The basic idea here is that you're starting a large fire over some rocks, and letting all that energy from the fire become embedded in the stone. Then, you put the fire out and let the heat slowly escape from the rocks and roast your meat.
Step 1: Gather the Basics
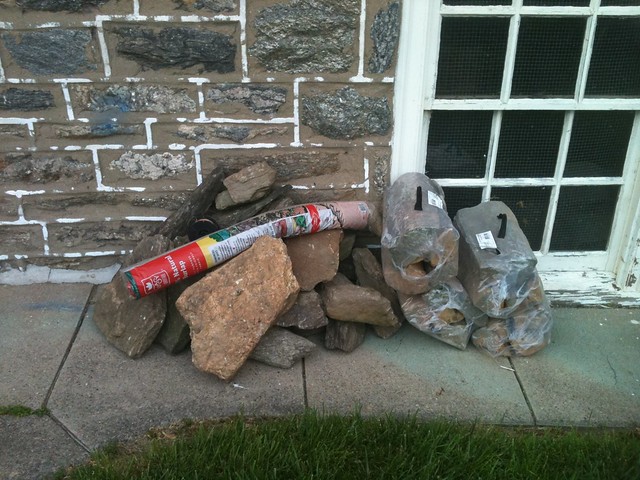
Here we see a bunch of flat rocks from a local creek bed, firewood, burlap, a spool of wire. What's missing from the picture is a shovel, aluminum, and of course newspaper and some matches. And the meat you plan to cook.
Step 2: Dig a Hole
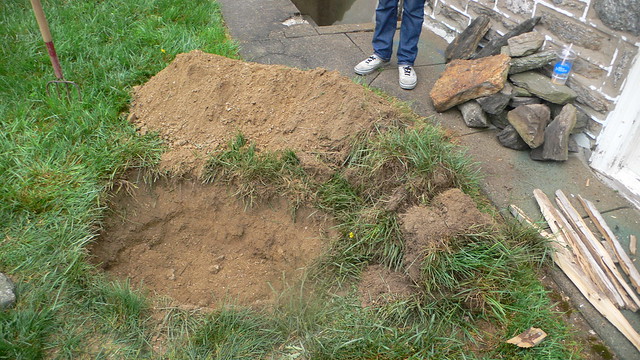
Self explanatory. Notice the kindling that we've started to gather on the right side of our hole. Keep the excavated dirt handy - you're going to need a bunch of it later.
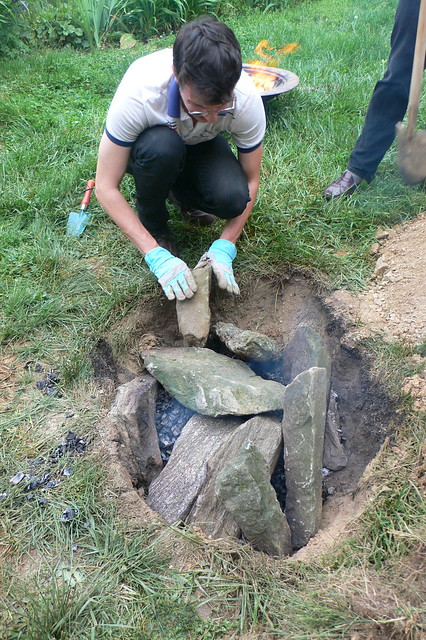
Step 3: Line the Hole with Rocks
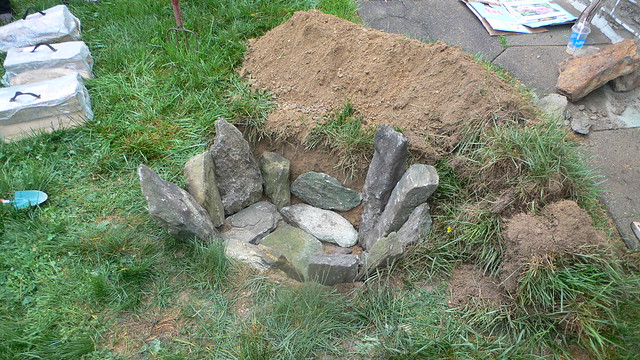
It's best to get your biggest, flattest rocks on the bottom of the hole. This makes a nice simple shelf for your meat and coals to sit on later. Also, heat rises of course and so the more of the mass to be heated you can place at the bottom the better.
Step 4: Start a Massive Fire in the Hole
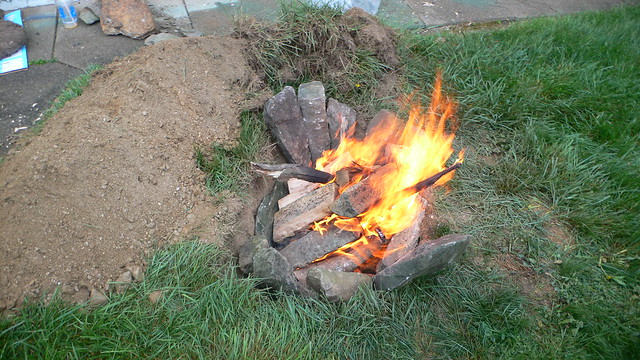
One thing I've learned from doing this is that you only get one chance to build your fire, so build it as big as you reasonably can. If you build a fire, and realize halfway through that it's not going to give you enough coals you can't easily change your course by throwing more logs on. As the new logs finally burn down to hot embers the coals from the first round will already be turning to ash. Go big the first time, and if you're cooking meat with enough fat in it you have little to worry about.
Step 5: Prepare Your Meat
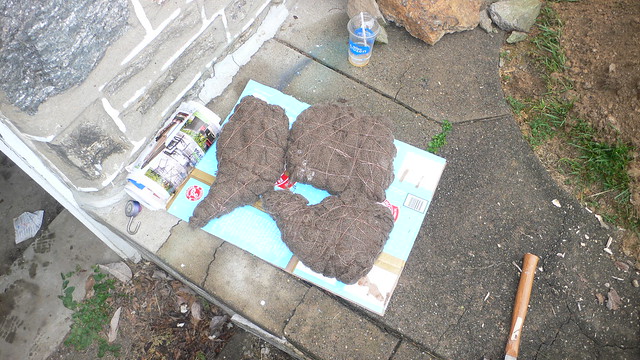
In the photo above you can see two lamb shoulders and 4 lamb necks wrapped first in aluminum foil, and then in wet burlap. It's important to make sure the meat is well-wrapped, but don't go overboard as you can shield the meat from getting the fullest roast possible (the kind that makes the meat fall off the bone). Again, if you've built a massive fire (see above) you shouldn't have to worry about not cooking the meat fully.
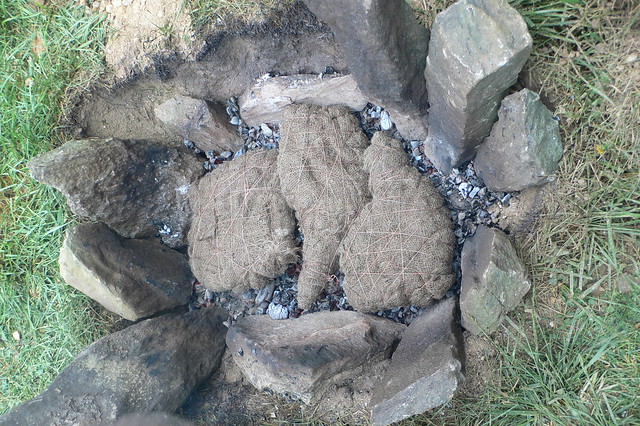
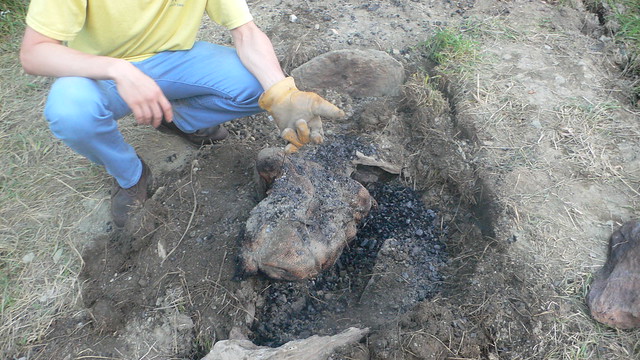
Step 6: Dig Out the Coals and Place the Meat
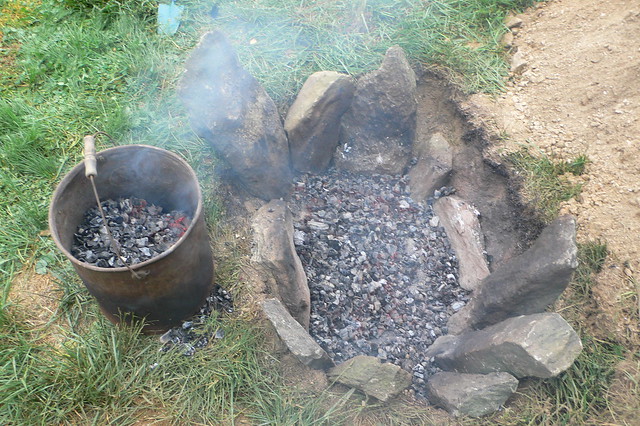
Have a bucket handy into which you shovel as much of the coals as possible. A wheelbarrow also works, or a big metal pot. Then lovingly place the meat you will be cooking into your primitive stone oven (notice that it's pretty impossible to get all the coals out, and being that precise doesn't matter in backyard BBQ'ing).
Step 7: Bury the Meat
A) Pour the coals back in . . .
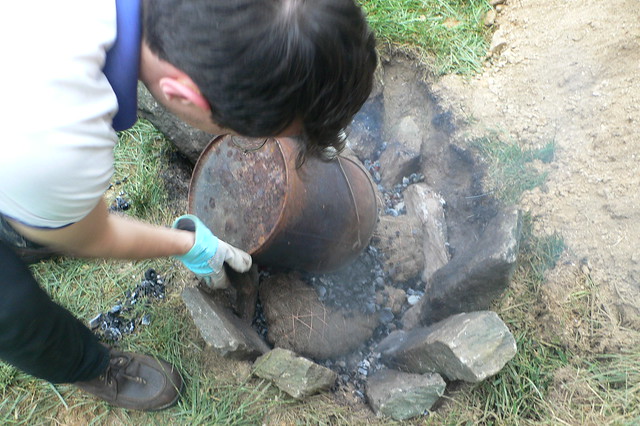
B) Push all your rocks in on top . . .
C) Make your well-dressed friends put the dirt back on . . . (note Ethan's loafer top left)

Step 8: Unwrap and Enjoy
Unfortunately, I seem to have stopped taking pictures once the lamb was in the ground.
Using this method, a full lamb takes seven hours to cook. For the two lamb shoulders and the 4 lamb necks I did it for half as long, pulling the pieces out after three and a half hours. I suggest using wire cutters to get into your succulent and still-wrapped meat, and doing the unwrapping outside. It will end up dropping ash, charred burlap and dirt all over the place.
(photo from last year)
Any questions? Mr.Schewel(at)gmail(dot)com
No comments:
Post a Comment